Silicon Mac で Controlnet + Stable Diffusion 1.5 を試す
そこそこ速いシリコンマックでの、 Controlnet + Stable Diffusion 1.4 を試す。
以前 CUDA で Controlnet を試したエントリー:
実行環境の確認
$ python3 --version
Python 3.9.6
venv 環境の用意
$ python3 -m venv ~/venv-sd
$ source ~/venv-sd/bin/activate
pip で必要なライブラリのインストール
(venv-sd) $ pip install --upgrade pip
(venv-sd) $ pip install diffusers torch torchvision torchaudio transformers
(venv-sd) $ pip install accelerate
入力画像とプロンプト
入力画像として使う手描き画像

実際に使用した画像(768 x 768) laptop_input_768x768.png
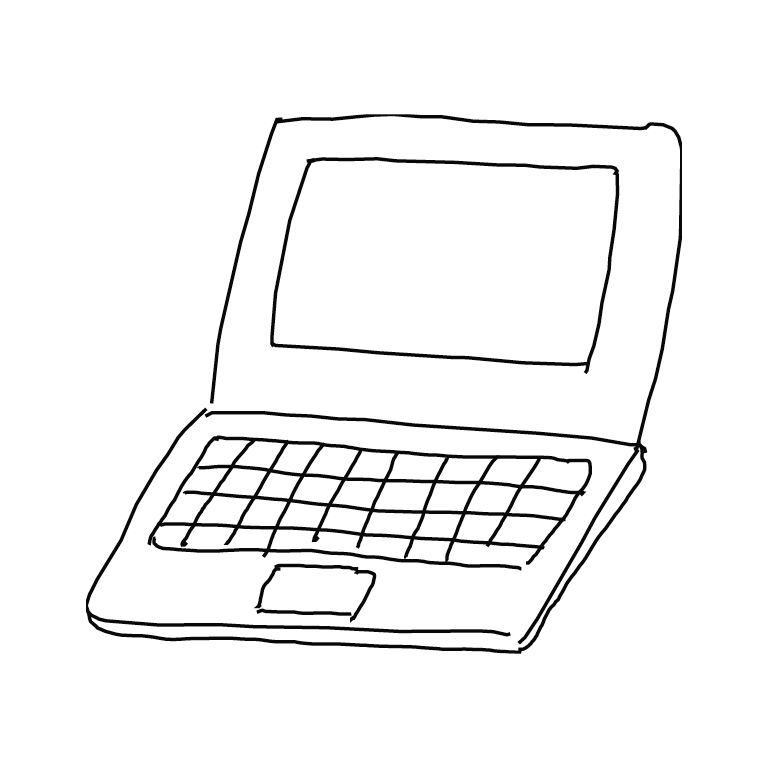
これに次のプロンプトを加えます。
An Acer Chromebook, with acer logo, dark body color, simple background, by monotone pencil drawing art by Hokusai.
コード
このエントリー Stable Diffusion などを使って絵をつくるワークフロー で使ったコードを手直しして シリコンマック用のコードに直しました。
main.py
import torch
from PIL import Image, ImageOps
from diffusers import StableDiffusionControlNetPipeline, ControlNetModel

def load_image(image_file_path):
    with open(image_file_path, "rb") as f:
        image = Image.open(f).convert("RGB")
    return image

def to_inverted_image(image_file_path):
    image = load_image(image_file_path)
    return ImageOps.invert(image)

device = "mps"
ct_model_id = "lllyasviel/sd-controlnet-scribble"
sd_model_id = "runwayml/stable-diffusion-v1-5"

prompt = "An Acer Chromebook, with acer logo, dark body color, simple background, by monotone pencil drawing art by Hokusai."
input_image_file  = "laptop_input_768x768.png"
output_image_file = "laptop_output_768x768.png"
seed = 43

controlnet = ControlNetModel.from_pretrained(ct_model_id)
pipe = StableDiffusionControlNetPipeline.from_pretrained(
    sd_model_id,
    controlnet=controlnet).to(device)

pipe.enable_attention_slicing()

input_image = to_inverted_image(input_image_file)
#input_image.thumbnail((768, 768))

generator = torch.Generator(device=device).manual_seed(seed)
image = pipe(
    prompt=prompt,
    image=init_image_inverted,
    guidance_scale=7.5,
    generator=generator).images[0]
image.save(output_image_file)
実行します。
(venv-sd) $ python main.py
2分程度はかかります。
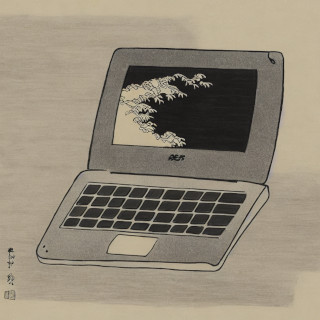
生成された画像
実際に生成された画像(768 x 768) laptop_output_768x768.png
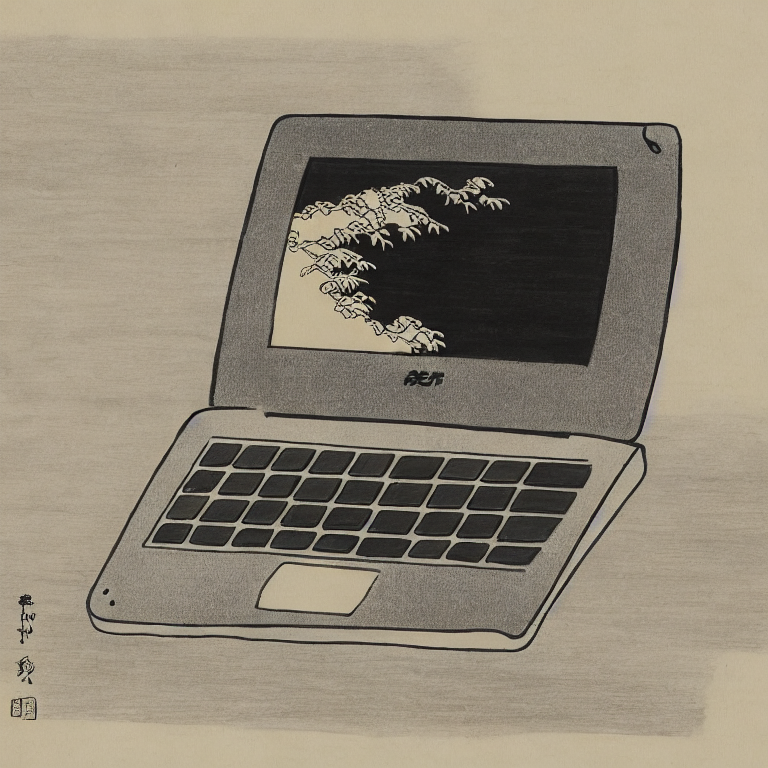
まとめ
以前のエントリーではこのあとのプロセスとして インペインティング機能を使って気に入らない領域を書き直していました。 このように複数の機能を組み合わせて、試行錯誤しながら作品を仕上げていくことになると、いよいよ ComfyUIのようなものが必要になっていくのでしょう。
Liked some of this entry? Buy me a coffee, please.